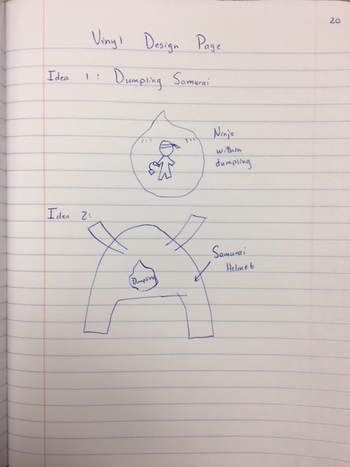
To give a little background for my design, I wanted to create a decal that would be placed on my Xbox. I didn't want to just make an Xbox logo because that would be to cliche, so I decided to design a logo for my "GamerTag", or the name that I go by on Xbox.
My GamerTag is DumplingSamurai, a name that captures my Asian heritage quite well. My first design features a ninja within a dumpling, but I wasn't satisfied because a ninja is not the same. After some searching on Google, I found a clip art picture of a samurai helmet which sparked my inspiration. I wanted to put a Dumpling within the helmet.
My GamerTag is DumplingSamurai, a name that captures my Asian heritage quite well. My first design features a ninja within a dumpling, but I wasn't satisfied because a ninja is not the same. After some searching on Google, I found a clip art picture of a samurai helmet which sparked my inspiration. I wanted to put a Dumpling within the helmet.

|
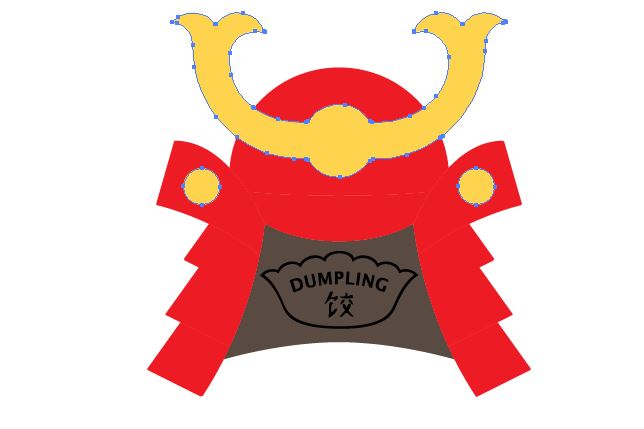
This is the image that I copied into Illustrator to be my samurai helmet. I used the trace mode "6 colors" to trace this image. Once I expanded, I used the direct selection tool to delete the black box around it.
Then, still using the direct selection tool, I changed all the shades of red to "Red" in the upper left corner. Finally, I changed all of the yellows to the same color. You can see my final result on the right. Credit: http://moziru.com/explore/Samurai%20clipart%20samurai%20helmet/ |

|
|
On the left is the logo that I used as my dumpling. I image traced it using "Black and White logo" and I ignored white. I moved it to the "inside of the helmet.
Credit: http://www.dumplingmpls.com/ |
|
Here's my final project designed in Illustrator. I'm very happy with the result. It has a minimalist look and represents DumplingSamurai.
I worked on the vinyl cutter in Mrs. Proctor's room to cut out my design. |

|
|
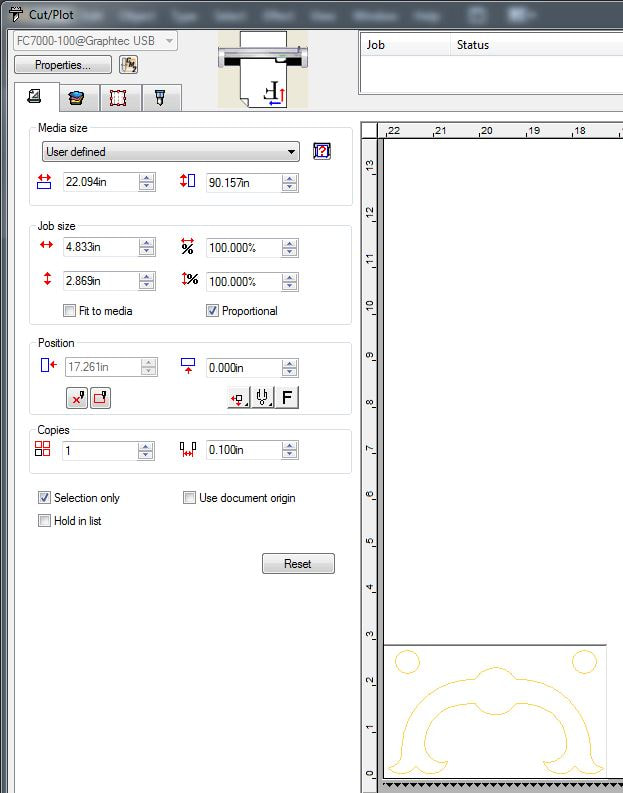
In oder to get each part of the decal into the CuttingMaster program, I used the direct selection tool to select all of the yellow parts. Then I went to file>Cutting Master 2> Cut Plot.
I repeated this process 3 more times to select the red, grey, and dumpling. |
|
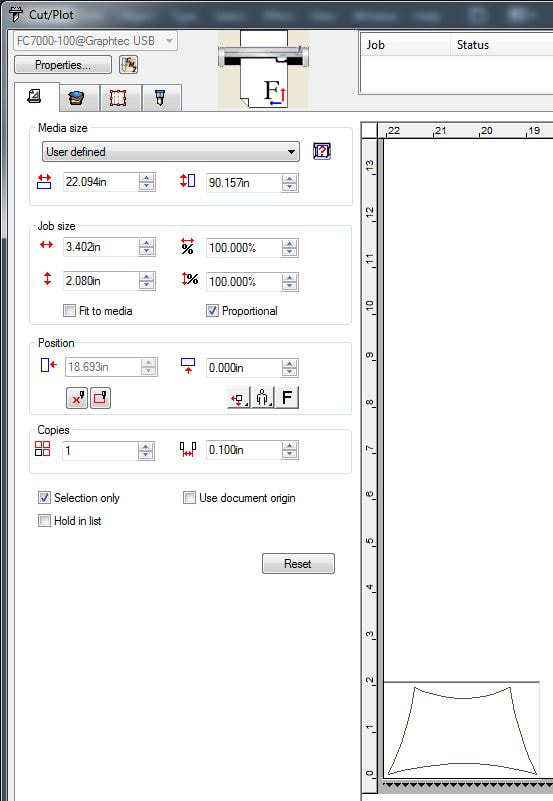
Here are snips of two of my pieces in the Cutting Master program. I rotated them by selecting the icon that looks like a person to waste the least amount of vinyl.
|
|
|
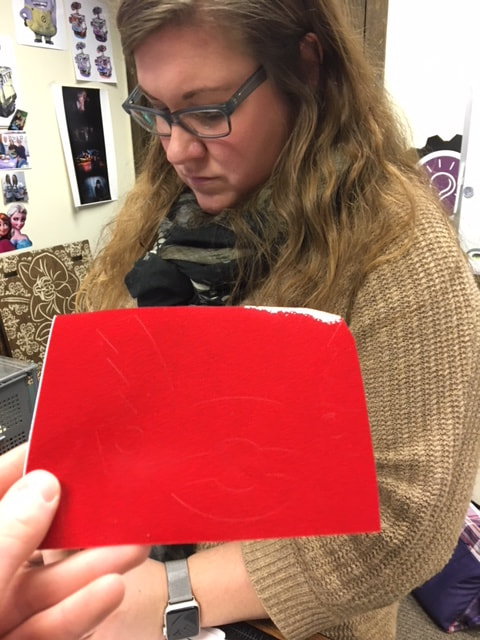
The first piece I cut out was the red helmet. It doesn't look like it, but Mrs. Proctor was actually very excited about the color because it was a sparkly red. I liked it better than the classic red color because the regular red was too bright for my taste.
|
|
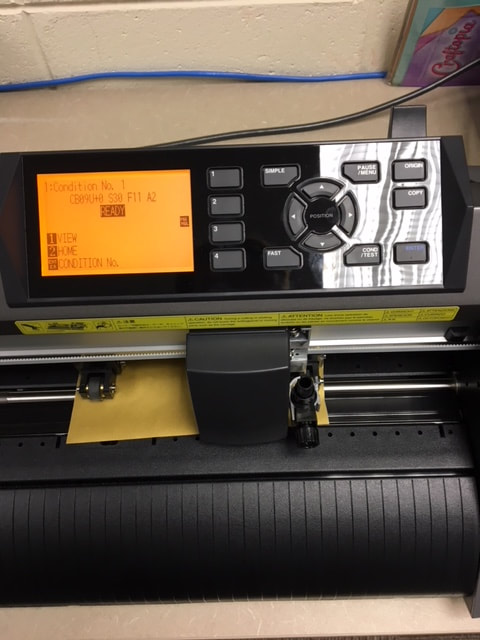
When you load the vinyl, it's important to raise the wheels and insert the vinyl under them. You can raise the wheels by pushing the lever in the back right of the machine down. Then, the wheels can just be pushed left or right to the appropriate dimensions of your piece of vinyl.
Once the wheels are set back down on the "Grippies" as Mrs. Proctor so eloquently called them, you should press the button with the "3" that corresponds with the command "Sheet". This will measure the space that the machine is able to cut. Once this is done, you are ready to cut. |
|
|
I'm very excited to cut out this gold piece! I used gold vinyl for the yellow parts of my design to give it a more "royal" look.
|
|
Not pictured: I cut out the inside of the helmet with a matte black, and I changed the dumpling to gold for contrast.
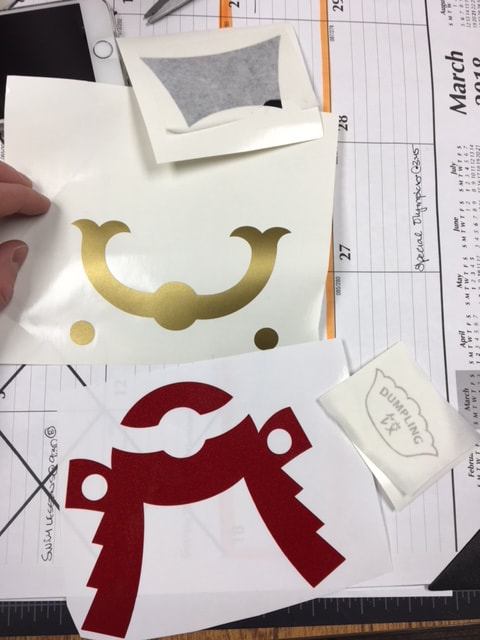
All of the pieces cut out very quickly. The longest was the red, which still only took about 20 seconds. Mrs. Proctor said that the vinyl cutter in the Innovation Center actually cuts faster than the one in her room. Weeding Once all the pieces were cut out, I put them all together on the same sheet that the red helmet was cut out on. The gold helmet ornament was too big to fit on the red helmet sheet, so it spilled over onto its own sheet. |
|
|
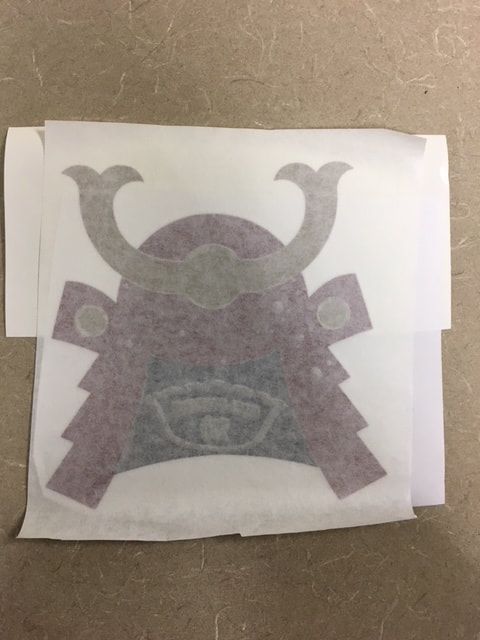
When all the pieces were assembled, I placed a piece of transfer tape over the entire design. Now it's ready to move.
|
|
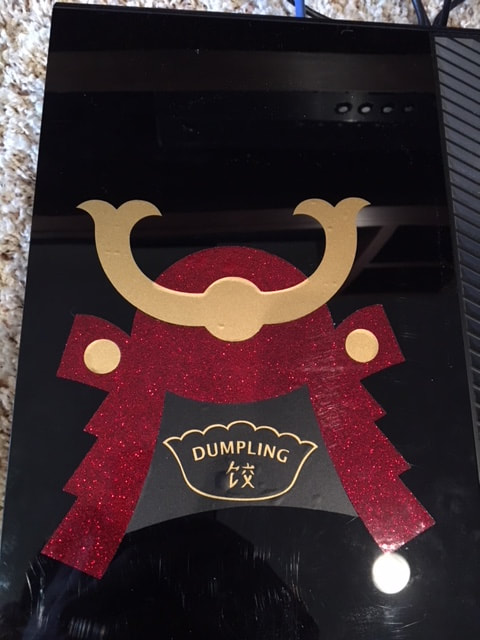
I attached my product to my Xbox One in my house. It's a good representation of my GamerTag on Xbox.
|
|
Summary
I learned a lot in this vinyl rotation. First, the most important thing that I learned was that vinyl is not a sticker. If you call vinyl a sticker the instructors will not be happy.
I learned a lot about the vinyl cutter machine, too. I used the small one in Mrs. Proctor's room for this project, and I learned how to raise the wheels to insert the vinyl and place them back down of the "grippies". Then I learned how to tell the cutter the dimensions of the piece of vinyl by selecting "Sheet" on the menu of the machine. On the computer, I learned how to rotate my design in pieces in order to waste the least amount of vinyl.
I also refreshed my memory of weeding. I used a new dental tool this time to weed the decal. Finally, I learned how to assemble multiple parts of one decal in order to create the complete design.
