The Incredible Toothbrush Holder 1.0
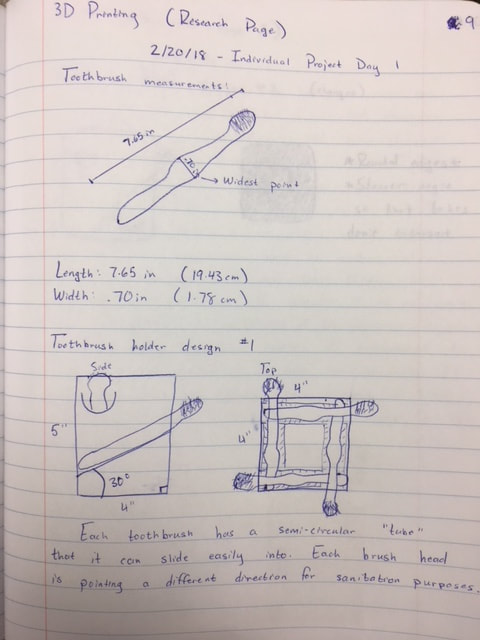
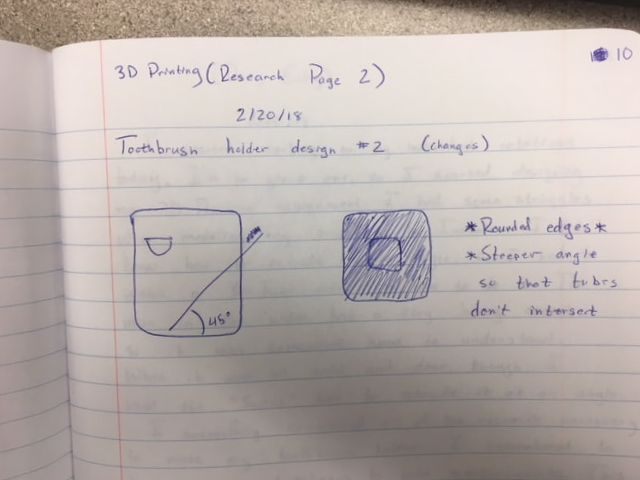
Research and Designs
|
|
|
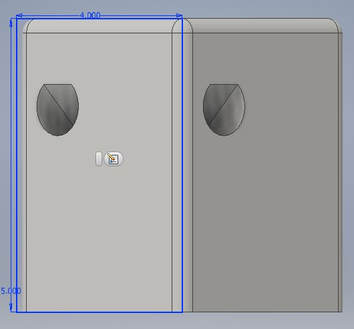
I modeled my toothbrush holder in Inventor as a part file. The first thing I did was make a rectangular sketch 4 inches wide by 5 inches tall. I then used the extrude tool 4 inches backwards to make it three dimensional. (See left)
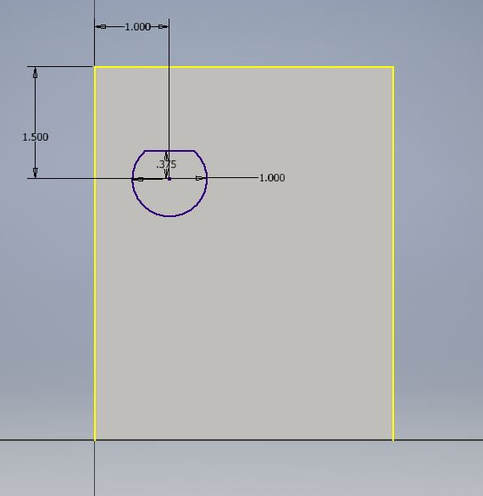
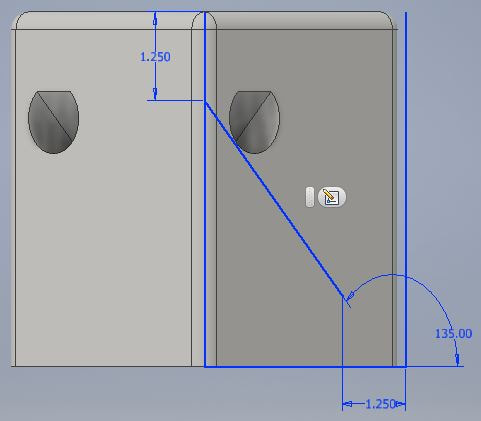
After the rectangular prism was made, I made a sketch of a circle with a diameter of 1 in. (see right) However, in order to add some "spunk", I added a horizontal line that intersects the circle .375 inches above the midpoint. Using the trim tool (with the help of Mrs. Proctor), I got rid of the upper arc of the circle. I dimensioned the midpoint of the circle 1 inch from the left side and 1.5 inches from the top. |
|
|
Next, things got tricky. I asked Mrs. Proctor how to extrude at an angle, but she didn't know how. I went to google, and watched a YouTube video about it. However, it was hard to understand the man speaking because he had a heavy accent. Here's what I learned...
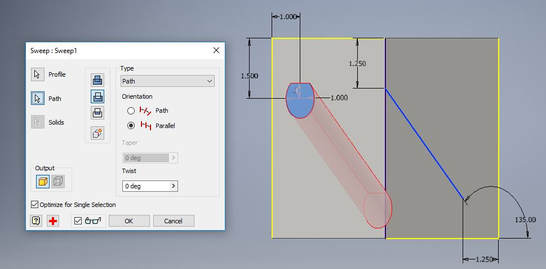
To extrude at an angle, you actually have to use the sweep tool. Make your original sketch, and in the plane in which you want to extrude, draw a line at the desired angle and dimension it accordingly. In my case, I used the adjacent side as my different plane. |
|
Next, be sure that you have selected "Parallel" and the cut option. Select your original sketch (the circle) first, then select the line that serves as the angled extrusion. Press "OK" and dismiss the suggested message.
I repeated this process for all four sides of my toothbrush holder to make four holes. |
|
|
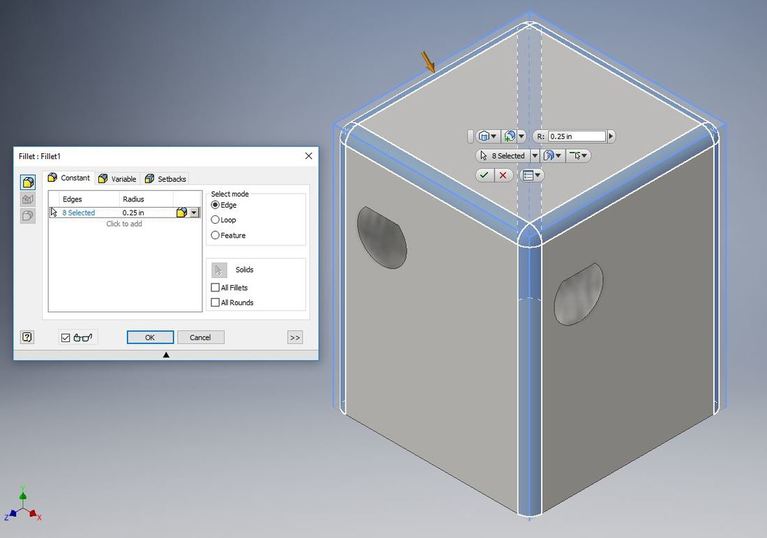
Next, I added a fillet to the edges of the prism (not the bottom so that it could stand). I selected all of my desired edges, and increased the radius of my fillet to .25 inches for a deeper curve. I selected OK and it was applied.
|
|
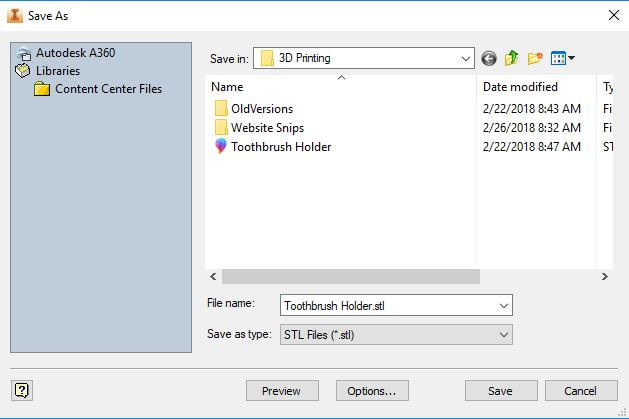
From the I drop down in the upper left-hand corner of Inventor, select Export -> CAD Format. This "Save As box will appear, then save it as a STL file. Open the MakerBot desktop software by searching it in windows.
|
|
|
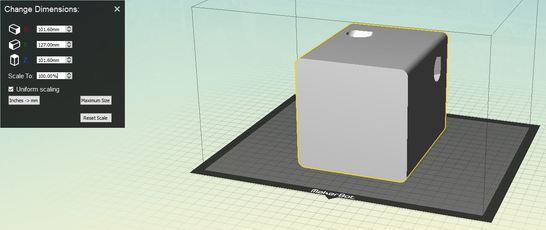
"Add File" from the toolbar at the top of the screen, and insert the STL file. Click on the actual object to select it, then change the scaling to 1000%. This makes the object the correct size.
|
|
|
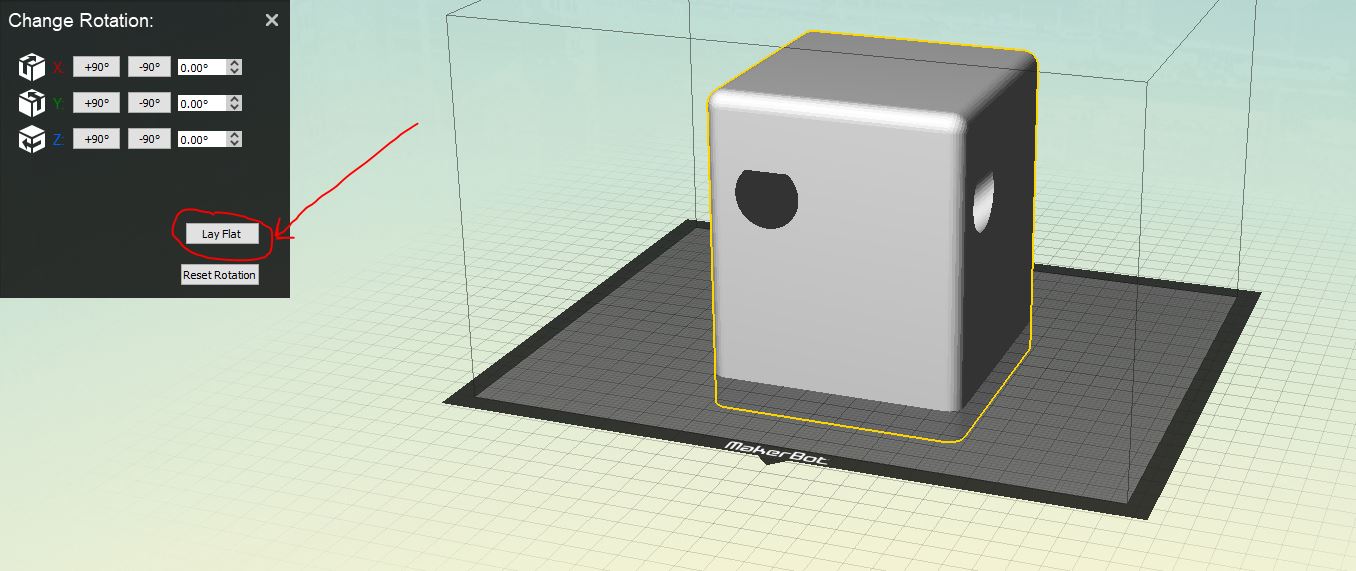
Next, orient the toothbrush holder so that the printer can build it from the bottom to the top. I rotated it so that it was "right side up". Then, I hit "Lay Flat" so that it was sitting on the plate instead of intersecting it.
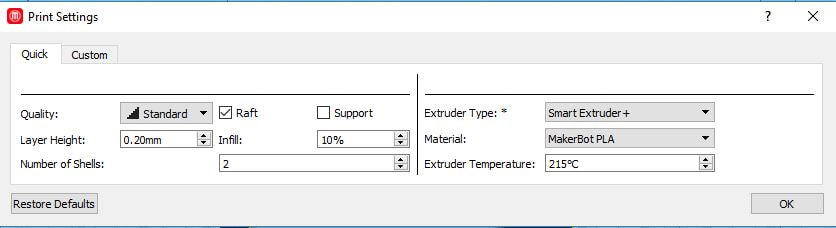
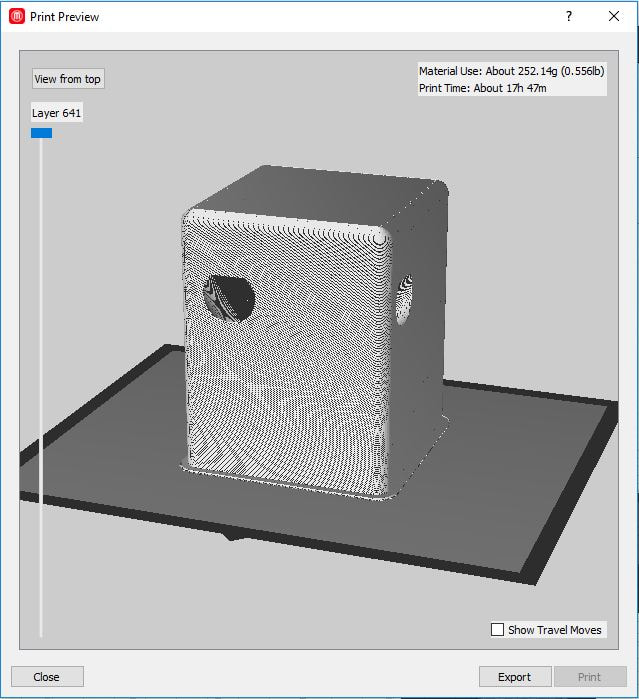
I modified the print settings so that there was a raft and the extruder type was SmartExtruder+. After the settings were modified, I went to print preview and exported the file onto my flash drive. Finally, I can head down to the 3D printers in the Innovation Center. |
|
|
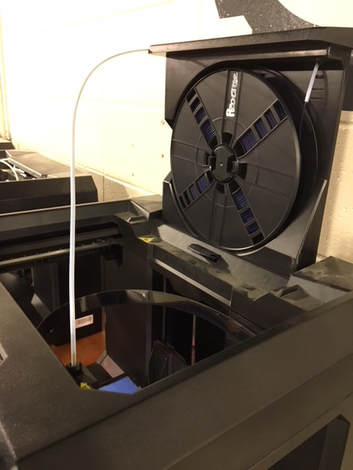
First, I changed the filament on my 3D printer. I preheated the printer, then selected "Unload Filament". Then, I raised the back of the printer so that the wheel was exposed.I replaced the wheel with a blue color that would match my bathroom, and threaded it through the white tube and into the printer.
|
|
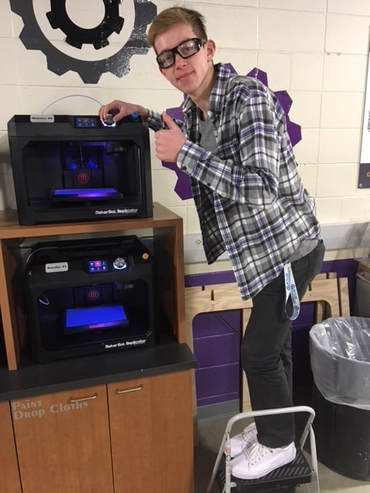
Felt cute in this picture. Photo creds: Evan Dietry
|
|
|
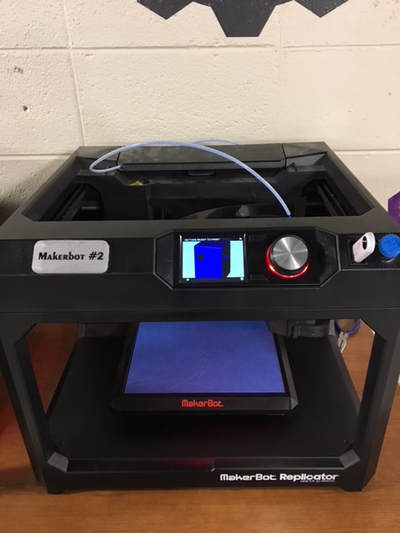
Once I selected my file from the USB, this screen appeared before the raft was printed. It showed my project when it would be completed. Eventually, this screen changed to one that showed the amount of time remaining and what % of the object is printed.
|
|
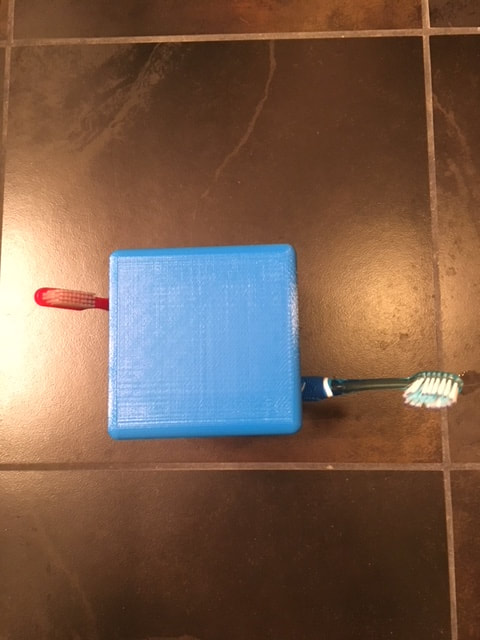
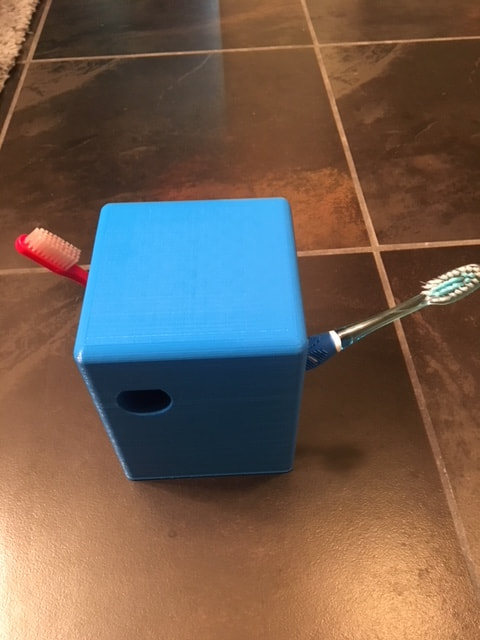
Here's the final product! When it was done printing, I had to remove the raft on the bottom of the object with an X-Acto blade. I'm very happy with the way it turned out, however, it's quite big. If I were to do it again, I would cut out a hole in the middle to reduce print time and materials. Also, I would add a couple small holes at the bottom of each "tube" for drainage purposes. All in all, my 3D printing assignment turned out great, and toothbrushes of all sizes fit neatly.
|
|
Summary
I learned a lot in my 3D printing individual assignment. First, I learned some new tools in Inventor. I was introduced to the sweep tool in order to extrude at an angle. Then, I experimented with the fillet tool (based on the picture alone) to make my design more user friendly. I refreshed my memory about the process of turning an Inventor file into an STL file compatible with the 3D printer. Also, I learned how to change filament with the help of Mr. Willauer.
This project also reminded me of the design process. The problem I was tasked to solve was to create a way to organize four toothbrushes. My first idea was to have all the heads pointing in different directions to keep everything sanitary. This 3D print is my prototype. I tested it with my toothbrushes, and it worked super well! Now, it's time to modify and re-test on my own time. If I were to make any changes, I would reduce the material used and time to print by cutting a hole in the center (from the top view). Additionally, I would add holes to the bottom of each tube to help water drain from the holder.
Finally, I learned that it takes a long time to 3D print.
